Coloring Effect using Unity Shader Graph
- santosh nalla
- Oct 7, 2022
- 2 min read
Updated: Nov 14, 2022
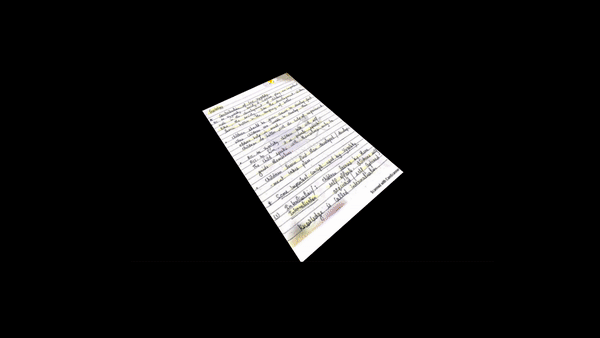
Final Effect:
This effect can be achieved using a custom node in shader graph.
This node takes 5 parameters as input and outputs the final color.
Input:
Primary Color of an object after coloring.
Initial Color of an object before coloring.
Vertex position in world space.
Click position(Mouse click position in world space)
Radius.
Output:
Final Color of fragment
Click position and Radius are set through external C# script dynamically. So we can create these global properties and hide them from inspector in our shader graph.

Code:
void PositionDistance_float(in float3 innerRadiusTexture,
 in float3 outerRadiusTexture,
  in float3 pointGlobalPosition,
  in float3 objectPosition,
  in float radius,
   out float3 finalColor)
{
	if(distance(pointGlobalPosition, objectPosition) > radius)
	{
		finalColor = outerRadiusTexture.rgb;
	}
	else
	{
		finalColor = innerRadiusTexture.rgb;
	}
}
The above custom node does this -
If the distance between a vertex and mouse click position is less than radius, it outputs final color else, it outputs initial color.
By increasing the radius after click, you can get that coloring effect as shown.
The C# script to set mouse click position and radius is quite simple.
You just cast a ray from screen point, and if the ray hit an object - you set its material property "objectPosition" to the hit point and start a coroutine to increase the radius.
public class ObjectSelectable : MonoBehaviour
{
    private const string CLICK_POINT_PROPERTY_NAME = "ObjectClickPosition";
    private const string CLICK_RADIUS_PROPERTY_NAME = "Radius";

    [Header("Coloring Properties")]
    [SerializeField] private float colorSpeed;

    private void Update()
    {
        if (Input.GetMouseButtonDown(0))
        {
            Ray ray = Camera.main.ScreenPointToRay(Input.mousePosition);
            RaycastHit hit;
            if (Physics.Raycast(ray, out hit, 800f))
            {
                ApplyColoringAnimation(hit);
            }
        }
    }

    private void ApplyColoringAnimation(RaycastHit hitInfo)
    {
        Material meshMaterial = hitInfo.transform.GetComponent<Renderer>().sharedMaterial;
        meshMaterial.SetVector(CLICK_POINT_PROPERTY_NAME, hitInfo.point);

        if (meshMaterial.HasProperty(CLICK_RADIUS_PROPERTY_NAME) && meshMaterial.GetFloat(CLICK_RADIUS_PROPERTY_NAME) < 4.8f)
            StartCoroutine(IncreaseColoringRadius(meshMaterial));
    }

    private IEnumerator IncreaseColoringRadius(Material meshMaterial)
    {
        float value = 0;
        while(value < 60f)
        {
            meshMaterial.SetFloat(CLICK_RADIUS_PROPERTY_NAME, value);
            value += Time.deltaTime * colorSpeed;
            yield return null;
        }
    }
}
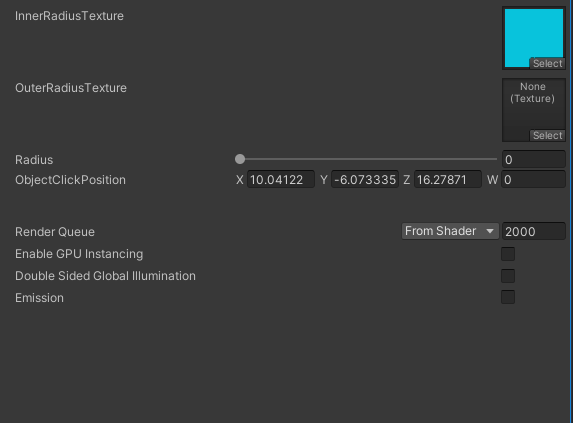
The above material looks like this,

It has 2 textures, Inner radius Texture and outer radiusTexture which are sampled based on the Node output.
Note: Radius and ObjectClickPosition need not be exposed to inspector as the as set dynamically through the above C# script.


Comments